Dashboard - Real Time Agent Statistics
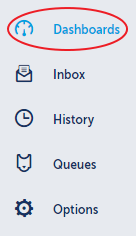
To access Dashboards, click on Dashboards in the left navigation panel.
The main window will be populated by your Default Dashboard. Add one or more Widgets to the default dashboard to present you with real time Agent data.
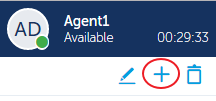
Please note: You can also add additional Dashboards by clicking on the plus symbol.
To add a Widget to a Dashboard
- Click on the Edit Icon

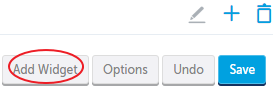
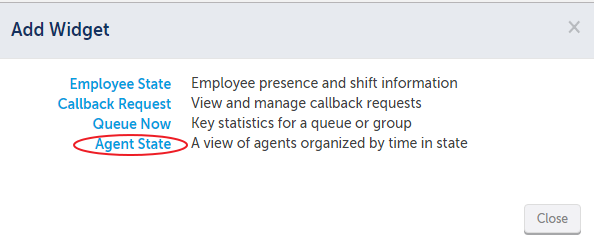
- Click on "Add Widget"
- Click on "Agent State"
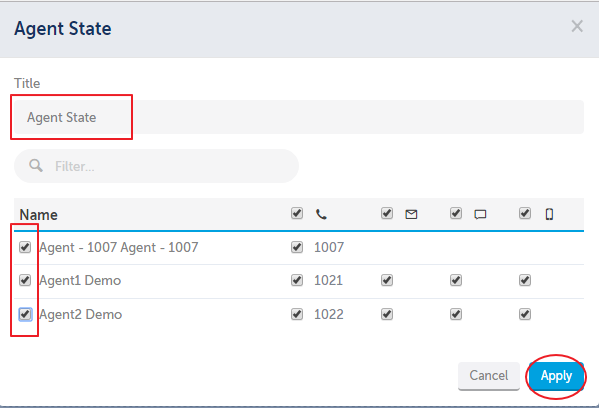
- Click on the Settings Icon for the Agent State Widget

- Change the Title if you want, select the Agents you want to see, then click "Apply"
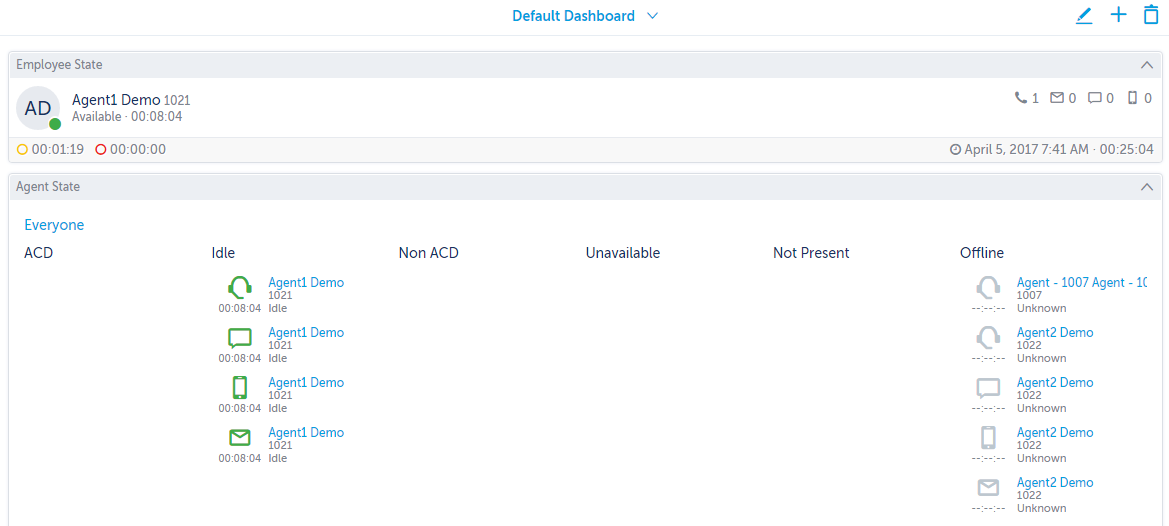
You now have a view of what the Agents are doing in real time from an ACD perspective.
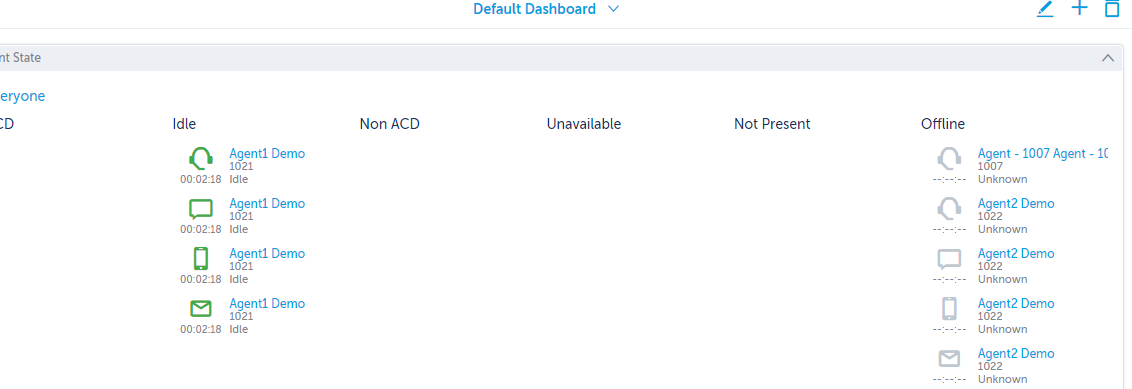
Currently, in the picture above, Agent 1 is not active on any ACD interaction. Agent 1 is "present" and currently "Idle" in four Queues, which means the Agent is ready and available for customer interactions from these Queues: Voice Queue, Email Queue, Web Chat Queue and the SMS Queue (notice the different icons for each media type). Agent 1007 and Agent 2 are not present in any Queues because their shift has not started yet (Offline column).
Supervisor note: A supervisor can use the Agent State view to change the Status of any Agent by clicking on the Agent and making a status selection.
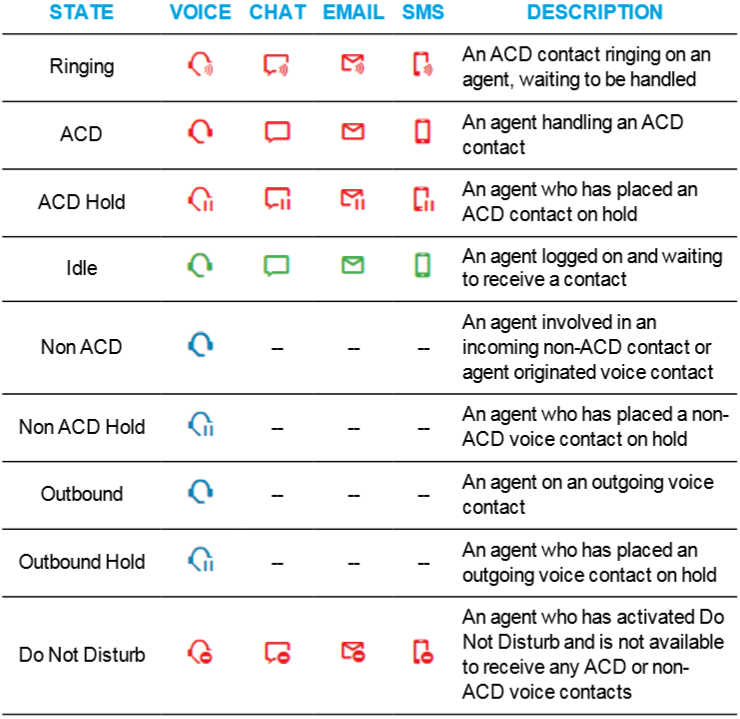
Agent States from an Icon Perspective:
The other employee based Widget is called "Employee State".
To add this Widget, click the Edit Dashboard Icon, click Add Widget, select "Employee State", click the Settings Icon for the Employee State Widget. Select a single employee that you want to have show up in this particular Widget and click "Apply".

In the picture above, I decided to select myself. So far today, I have not changed my status to Make Busy (yellow time counter) or gone into Do Not Disturb (red time counter). It looks like I have been available (Idle) for almost an hour.
Please note:
- You can add more of the same Widget type to any Dashboard.
- You can move the Widgets into the positions you want by clicking and dragging the Move Icon on any Widget

- You can Collapse a Widget by clicking the Collapse Icon

- You can Delete a Widget by clicking the Delete Icon

Here is what my Default Dashboard looks like with both of the Widgets we just added: