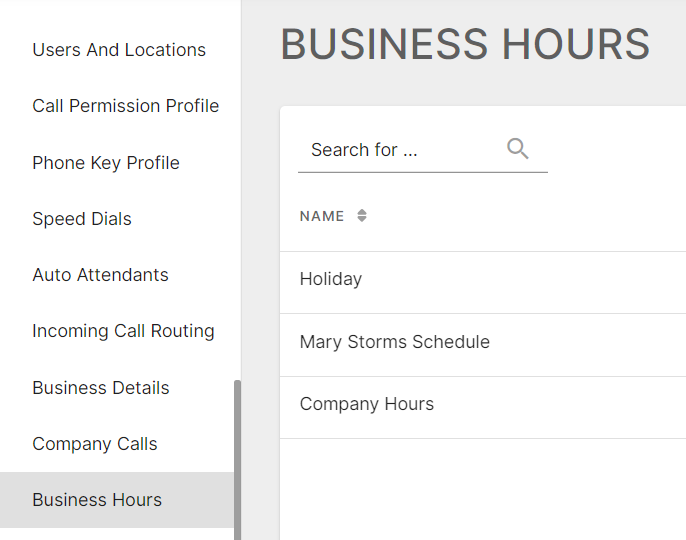
Business Hours
Business hours details are used to capture the following information about your company:
- The days that you are open for business.
- Your regular hours of operation and lunch hour.
- Special hours of operation.
You can configure permissions for users and incoming call routing to be different for each of the business hour categories. See Business Details.
Each site can have their own business hours.
Holiday Hours
Holiday hours provide additional routing options for incoming DIDs according to a tenant's defined holidays.
View Holiday Hours List
The Holiday Hours List page lists Holiday Hours Profiles. Tenant Administrators can add new profiles at this level and select profiles to edit.
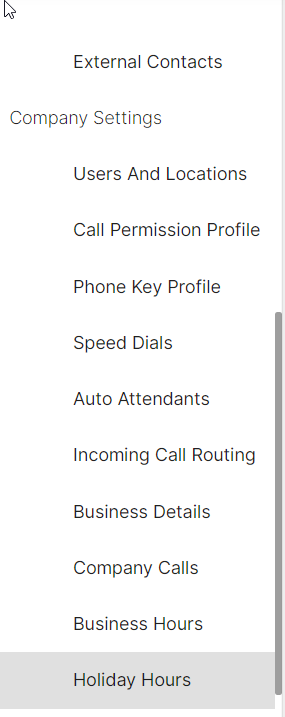
To view the Holiday Hours List page, expand Company Settings and click Holiday Hours in the left menu.
Add Holiday Hours Profiles
To add a profile, follow these steps:
- In the left-hand menu, expand Company Settings and click Holiday Hours. The system returns the Holiday Hours List page.
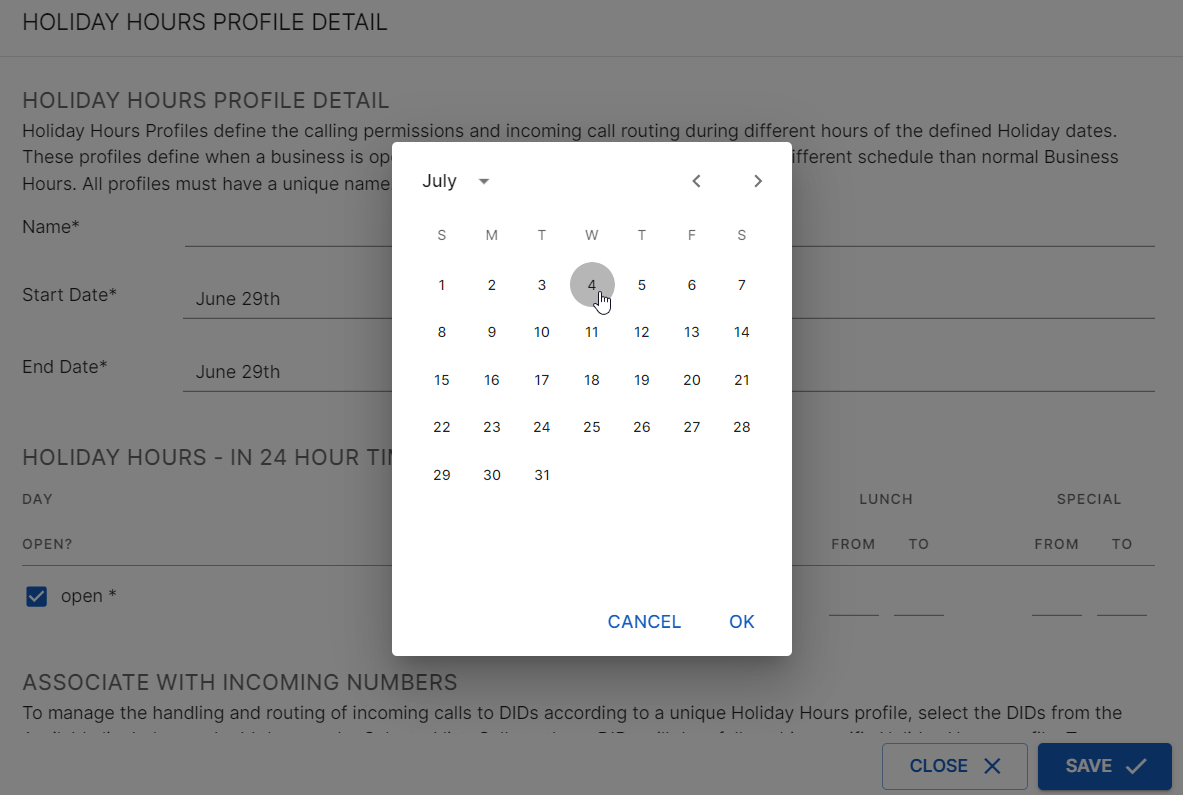
- Click Add. The system returns the Holiday Hours Profile Detail page.
- Enter the profile Name.
- From the popup, select the Start Date.
- From the popup, select the End Date. The End Date should be the same as the Start Date, unless the holiday is more than one day.
- Check Open and enter the hours if there are open hours for this holiday; otherwise, leave it unchecked.
- The holiday hours categories take the following priority: Special, Lunch, then Operating Hours. This means that if the configuration indicates that more than one category applies at any particular time, the higher-priority category takes precedence.
- Time is displayed using the 24-hour format. The time 24:00 (24 hours, 00 minutes) refers to 23:59:59.
- Operating Hours should not exceed 24 hours or be less than 0 hours. Minute fields should not exceed 59 minutes or be less than 0 minutes. The total time, hours + minutes should not exceed 24 hours nor should it be less than 0 minutes. For example, if the hour field = 24, then the minute field must = 0.
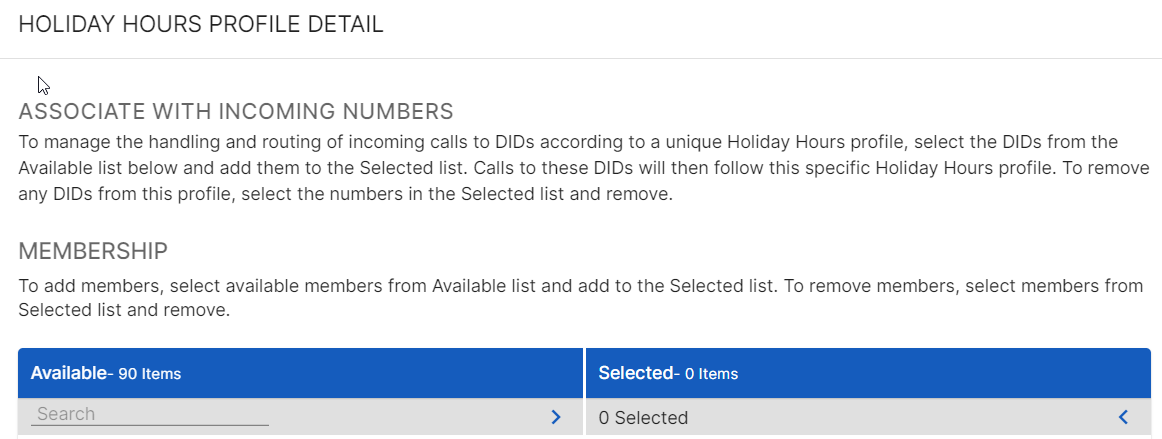
7. In the Associate with Incoming Numbers section, choose the numbers to associate with these Holiday Hours. To add numbers, use the + button besides the number to move it over to the Selected group. Or click the >button to move all the numbers over to the Selected group. To remove numbers, use the - button or click the < button to remove them all. An Incoming Number can be associated with more than one profile, as long as the dates for these profiles do not overlap.
8. Click Save.
Modify Holiday Hours Profiles
To modify a profile, follow these steps:
- From the Holiday Hours List page, click the Name of the profile you want to modify. The system returns the Holiday Hours Profile Detail.
- Modify the profile.
- Click Save.
Delete Holiday Hours Profiles
To delete a profile, follow these steps:
- From the Holiday Hours List page, locate the profile that needs to be deleted. Click on the trashcan icon on the profile's row.
- The system asks you to confirm the deletion. Click OK.