Call Groups
Groups are typically company departments such as Support, Sales, Marketing. Organize staff into groups so that there is one number to reach members of the group. For example, you could have a sales team and group their phones together under one directory number.
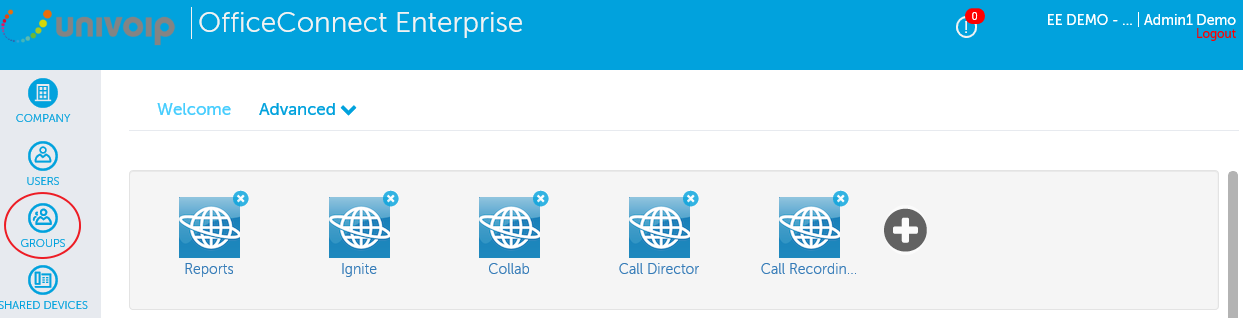
In the left Navigation Panel, click on "Groups".
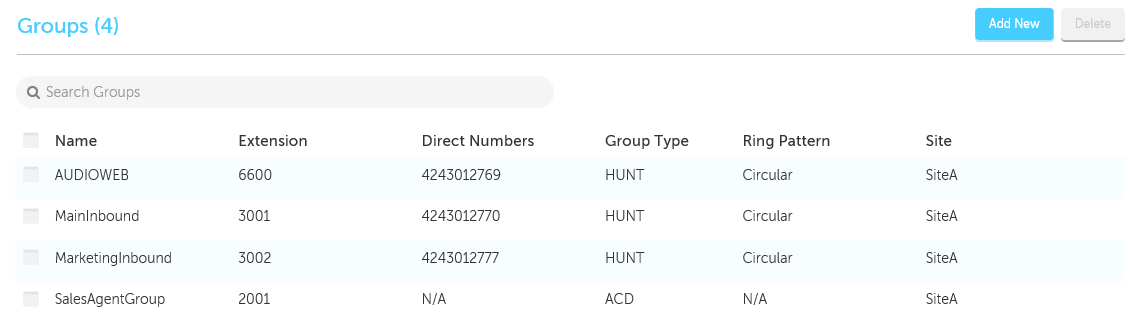
You can add a new group, modify an existing group, or delete an existing group.
Add a group
Add Groups by following a series of steps highlighted in the task menu bar.
- Click the Add New button.
- Group Profile - Enter a unique name for the group and select the group type. Fields marked with an asterisk (*) are required.
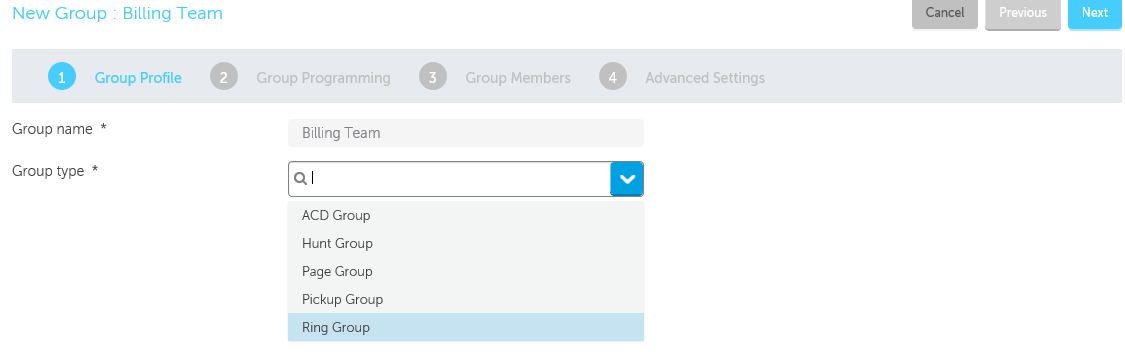
- Click Next.
- Group Programming - Select the location, number(s), and extension for the group.
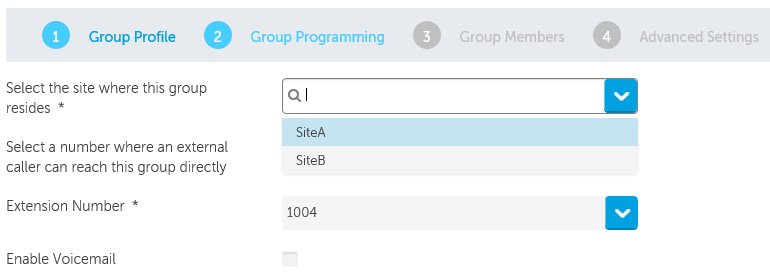
- (optional) Click the Enable Voicemail check box to enable Voicemail and then enter your Voicemail passcode and email forwarding details.
- Click Next.
- Group Members - Using the search box, add members to the group.
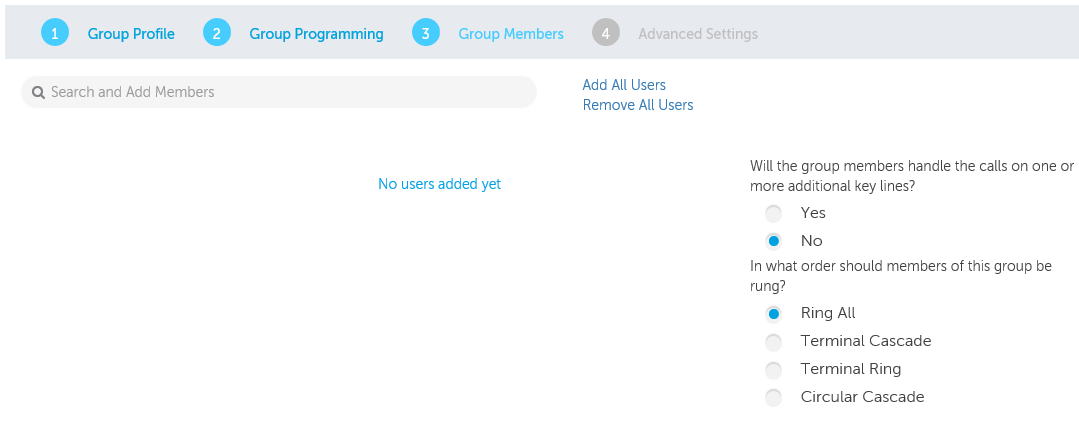
- Select the ring type for the group.
- Click Next.
Advanced Settings - (optional and vary depending on the group type)
- Select the voicemail settings (if Voicemail was allowed):Choose the mailbox type, where you want callers forwarded when they dial 0, how long to keep messages before they are deleted, the maximum number of messages to hold in your mailbox, and whether you want embedded UM enabled.
- Select the Overflow Point Settings: Group ring time, user ring time, overflow destination.
- Select the call handling rules: Choose options for handling calls when unable to answer, on another call, during the day, at night, and on an alternative night.
Be sure to save your settings.
Modify a group
When you need to add or update group members or settings, click the appropriate tabs on the menu bar. The following image shows that the Administrator is at step 1 of the Sales group tasks.

- Click Groups and then click the group's name.
- Select the details that you want to modify from the task menu bar, for example Group Members.
- Make the changes and then click Save.
Delete a group
When you no longer need a group, you can remove it from the system.

- Click Groups.
- Click the check box for the Group you want to delete.
- Click the Delete button.