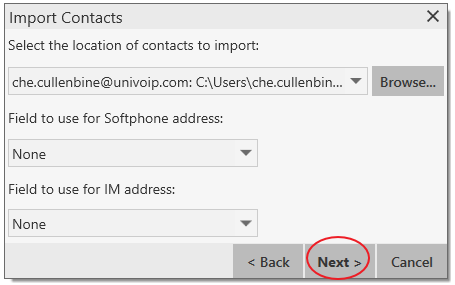
Contacts > Import Contacts… > Outlook or Exchange Server > Next
Click Next on the Import Contacts window.
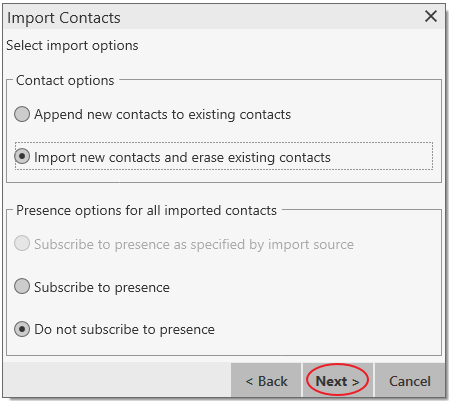
Select your contact option and click Next.
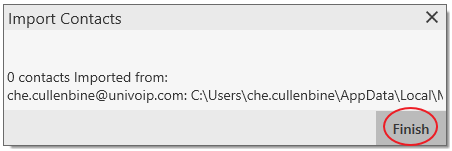
Click Finish.
Importing Contacts
1. From the main menu choose Contacts > Import Contacts. The Import Contacts wizard starts.
2. As soon as you click Finish on the wizard, the Contacts tab in UniVoIP App is updated to show the imported entries.
Exporting Contacts
You can export a contact list to a CSV, vCard or PST file.
1. From the main menu choose Contacts > Export Contacts. The Export Contacts wizard starts.
2. When you click Next, the export starts. The result is:
- For a PST export, the existing .pst file is updated to include the entries from the UniVoIP App contact list. If Outlook is open, the entries immediately appear in the Outlook contacts.
- All information in the UniVoIP App contact list is exported to Microsoft Outlook. Only information that can be displayed in Outlook actually appears in the Outlook Contacts window.
- For other formats, a new file of the specified type is created.
Adding a Contact – Live Call or History Tab
You can add a contact by capturing existing information:
- If you are on a phone call with a non-contact, click the Add to Contacts button in the call panel.
- On the History tab, select an entry that is not a contact. Right-click and choose Add as Contact. The Contact Profile dialog appears. Complete the dialog as desired and press OK.