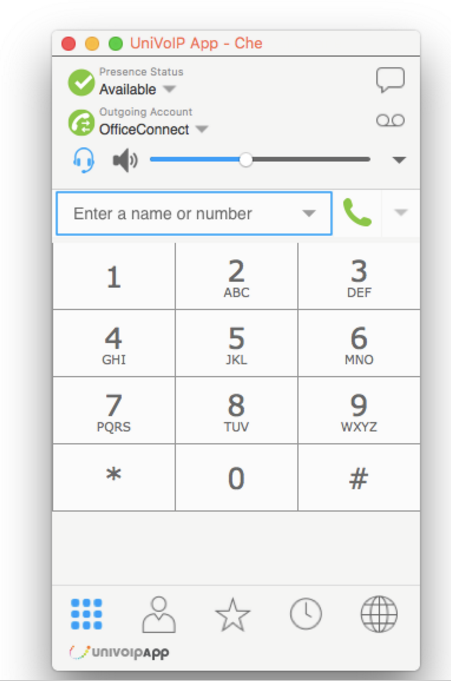
Hardware requirements:
Processor | Minimum: Core 2 Duo 2.1 GHz
Recommended: i5 / i7 2.4 GHz and above |
Memory | Minimum: 4GB RAM
Recommended: 16 GB RAM and above |
Hard Disk Space | 400 MB (Install/Upgrade, 200 MB operation) |
Operating system | Mac OS 11.0.1 (Big Sur) or later |
Connection | IP network connection (broadband, LAN, wireless); Constant Internet connection |
Sound Card | Full-duplex, 16-bit or use USB headset |
Installation:
Click on the Mac download link provided in your UniVoIP App welcome email.
Locate the downloaded file and double click on it.
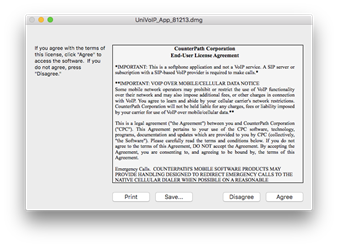
Read the Terms and Conditions. Only if you “agree” to the Terms and Conditions will you be able to proceed.
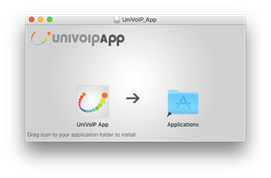
Drag and drop the UniVoIP App Icon to the Applications Folder to install.
As you would for any program that you need to install, click “Allow” or “OK” or “Finish” on any remaining installation notifications.
Launch the UniVoIP App. One way is to go to your Finder / Applications and double click the UniVoIP App Icon.
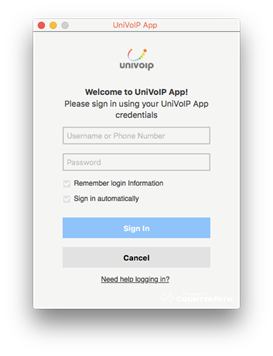
Enter the username and password for this particular user provided by UniVoIP, make optional selections, then click “Log in”.
Please note: Before using the UniVoIP App, you must enter your existing Phone PIN Number in the Device Settings of the UniVoIP App. If you have never changed your Phone PIN Number, you should change it first in your UniVoIP User Portal. See below.
Enter Your Phone PIN Number after Logging into the App for the First Time
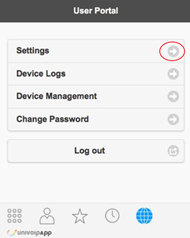
1. Click on the Globe Icon located in the lower right corner of the UniVoIP APP interface.

2. Click on the right arrow next to Settings.
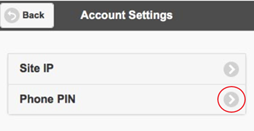
3. Click on the right arrow next to Phone PIN.
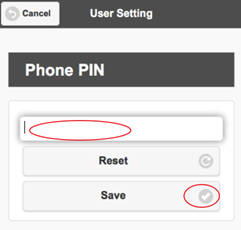
4. Enter your current Phone PIN Number and click the right arrow next to Save.
5. Exit the UniVoIP APP, then re-launch it.
Now is a Good Time to Change Your Password
1. Click on the Globe Icon located in the lower right corner of the UniVoIP App interface.

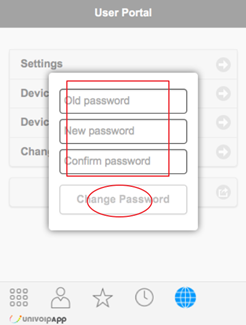
2. Click on Change Password
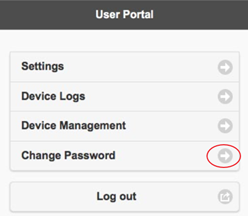
3. Fill out the Change Password form and then click on the Change Password Button.
Viola! The UniVoIP App is now ready for use.
