Calls
Completed Events provides the ability to search and review completed Call Recording activities, including:
Locating, listening to and evaluating specific recorded calls
Downloading recorded calls offline
Building and managing a Recording Library of important calls
Searching for previously completed Evaluations of call recordings
Calls
Clicking on the Calls sub-menu item brings up the Calls screen, which searches for completed calls matching your chosen criteria.
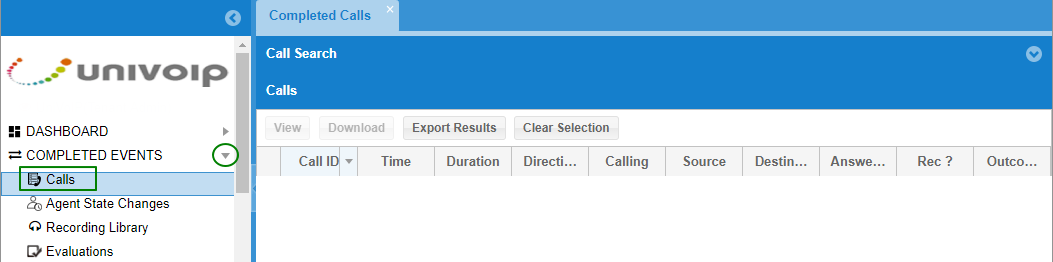
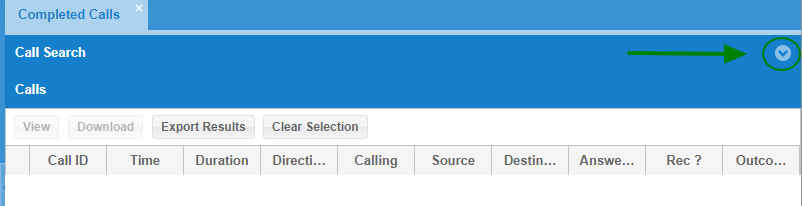
To populate the Calls screen, you must first enter search criteria in the Call Search screen. Click the arrow in the upper right corner to expand the screen and enter the appropriate search values (seen above).
Once expanded, all the search criteria fields appear as seen below.
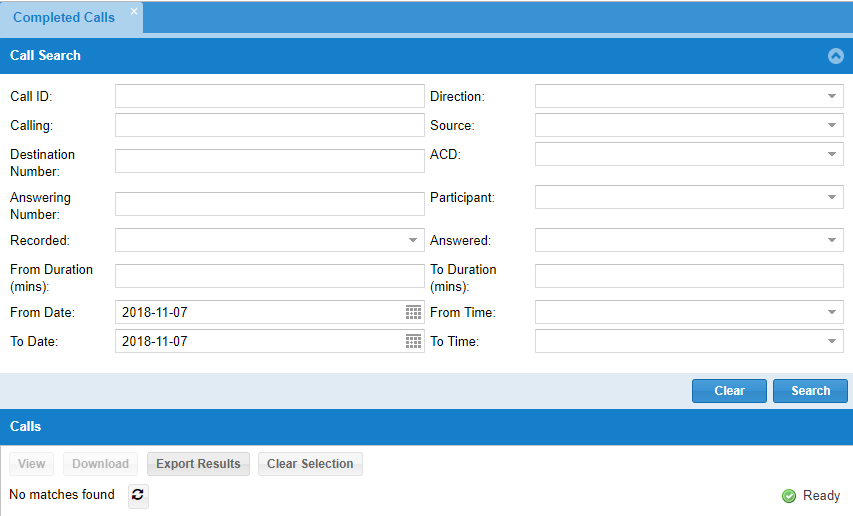
Search Fields
- Call ID: Match one of the call identifiers.
- Direction: Select Inbound, Outbound, or leave blank to match only calls in that category.
- Calling: Enter part of a phone number or part of a calling name to match only calls containing that value.
- Source: Select a single extension (and name) from the list of ACD extensions to match only Outbound calls from that extension.
- Destination Number: Enter part of a called phone number to select calls containing that value in their Destination.
- ACD: Enter a Queue or a Conditional Route to display calls that have that Queue or Conditional Route in their Destination.
- Answering Number: Enter a number to display only calls containing that number in their Answered By field.
- Participant: Enter a single extension and name from the list of ACD extensions to match only those Inbound calls in which this extension was "Transferred to" on the near side at least once. This extension may not appear in the search results row because this extension may not be the one that answered.
- Recorded: Select Yes, or No from the drop- down list, or leave blank to include all calls.
- Answered: Select Yes, or No from the drop- down list, or leave blank to include both. When Yes is selected, the calls displayed are only those outbound calls where the far end answered and only those inbound calls (ECR and ACD) where ACD indicates the near end answered (Agent, or some Menu, time-out, or CR target). When No is selected, the calls displayed are only those calls where the origination leg terminated before the destination leg could answer.
- Duration (in minutes): Enter a time into the From box to display only calls with a duration greater than this number. Enter a time into the To box to display only calls with a duration less than this number.
- From Date/From Time: Enter a date and time (hh:mm) to display calls that started on or after this date and time.
- To Date/To Time: Enter a date and time (hh:mm) to display calls that started on or before this date and time.
Please Note: If a date is entered in the From field, but no time is entered, the value of midnight (Tenant Time Zone) that began this date is used. If a date is entered in the To field, but no time is entered, the value of midnight (Tenant Time Zone) that ends this date so used.
Use the Clear button to remove all search values and start over. Use the Search button to display all calls matching the search criteria.
Search Results Layout
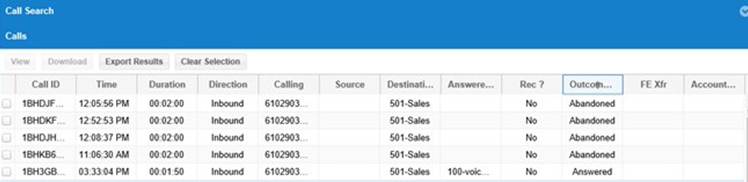
- Call ID: A system-wide call identifier.
- Time: Time the call was received.
- Duration: Time that elapsed between when the Queue received the call and when the call terminated.
- Direction: All ACD Queued calls are Inbound.
- Calling: Calling number and Caller Name taken from the PSTN.
- Destination: The Queue the call was routed to.
- Answered By: The name of the agent who answered the call, if any.
- Rec?: 'Y' if the call was recorded, 'N' if it was not.
- Outcome: Result of the call (Answered, Abandoned, Failed, etc.).
Select a recording and click the View button to access the Call Details Page.
Please Note: By default, call details are available for 365 days and call recordings are available for 90 days.
Click the Download button to download the selected call search records. A .zip file containing a .CVS for the selected calls and a .WAV for any associated recordings is downloaded.
Click the Export button to download a .CVS of all current search results. Click the Clear Selection button to uncheck selected calls.
Call Details Page
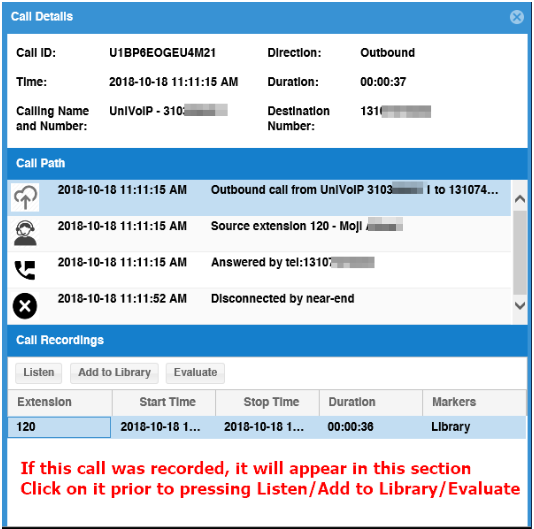
The top section of the Call Details page repeats the information from the Calls Search page.
The Call Path section provides details about the call from the moment it entered a Queue until the moment the call terminated.
The Recordings section provides the ability to listen, evaluate and add the recording to the Call Recording Library.
The Recordings section of the Call Details page has links to Listen or Evaluate the Recording, or store it in the Call Recordings Library.
Clicking the Listen button brings up the embedded media player and allows the user to play, pause and rewind the recording. There is also a Download link on the media player that allows users to download the .wav file to a selected location on their PC.
In addition to scoring Agents, it is often helpful to save noteworthy recorded calls. The Call Recordings Library is the repository of saved recordings. Click the Add to Library button to add this recording to the library. You are prompted to enter a title and a descriptive note. These fields are searchable, so include words that are helpful in finding this recording later.
Click Save to move the recording to the Call Recording Library. The recording, its Call Details, and its completed Evaluation Forms are retained.
Please Note: Recordings NOT moved to the Call Recording Library are deleted after 90 days. Recordings moved to the library are retained indefinitely, limited only by a total storage limit.
Back to Top Menu - Extension Call Recording
Back to Top Menu - Contact Center Services